Sheltered Glade Statue Puzzle In Dragon Age Veilguard
HIGHLIGHTS
- For the Sheltered Glade Statue Puzzle, begin the Price of the Past quest by starting from the Lava Caves and find the journal.
- Position the three distinct statues correctly to solve the puzzle and look for visual or auditory cues indicating activation.
- Unlock a nearby door leading to a hidden chamber filled with valuable gear, crafting materials, and lore items.
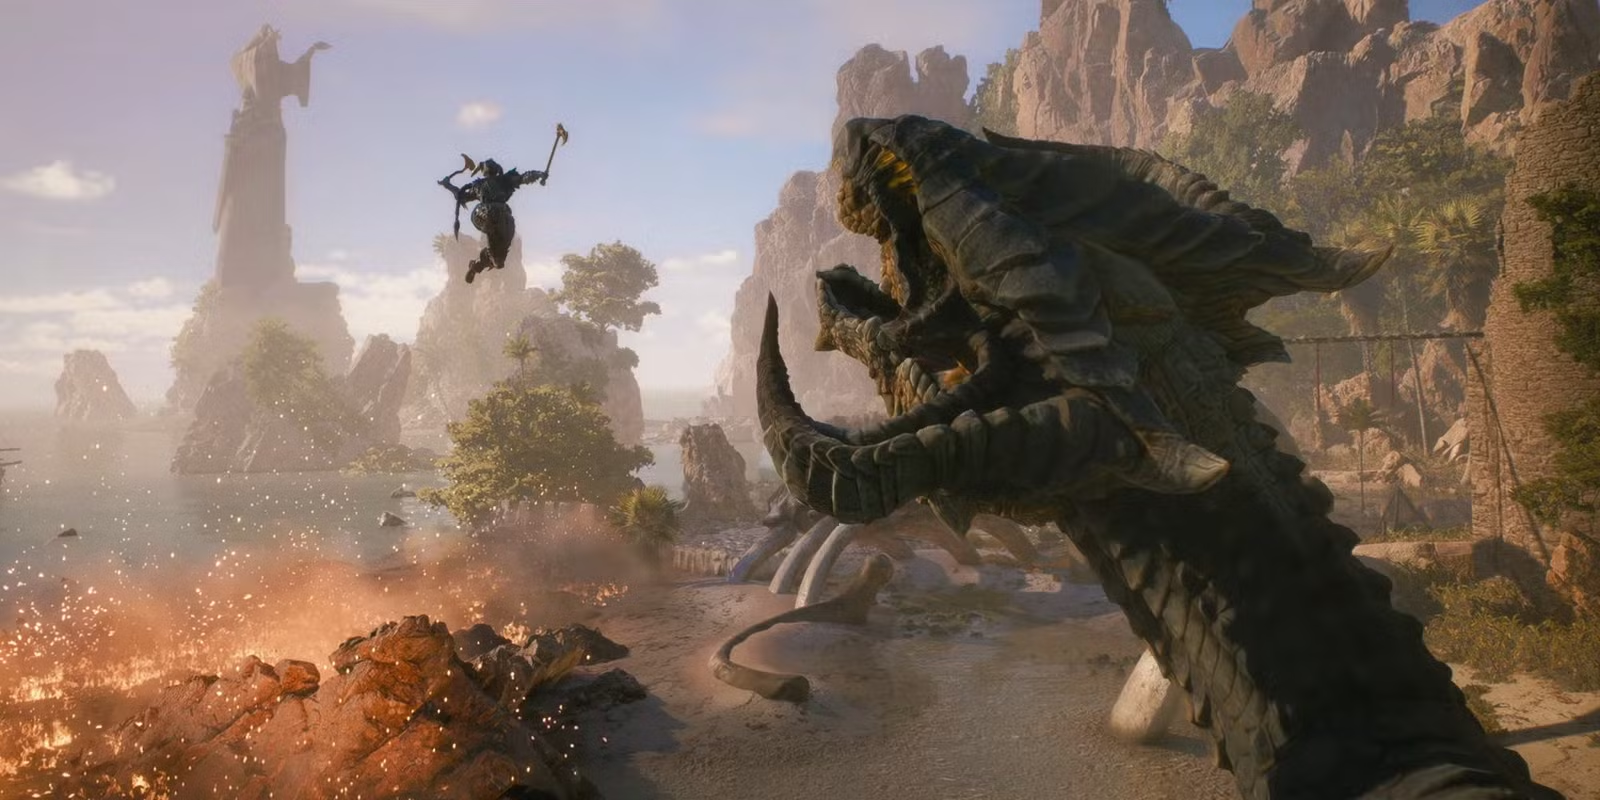
Dragon Age: The Veilguard makes a notable comeback for the cherished RPG series, immersing players in a detailed world full of complex puzzles and compelling stories.
One of the standout challenges is the Sheltered Glade statue puzzle, which offers a particularly engaging experience.
Find The Puzzle Location For Sheltered Glade Statue Puzzle
To begin the Sheltered Glade Statue Puzzle, head to the Lava Caves to start the “Price of the Past” quest. This area features molten lava and catacomb-like structures.
Travel east within the cave to find the journal that initiates the quest.
You’ll discover a treasure box containing Ser Ifean. Afterward, consult the map to locate the treasure at Sharksmouth Mountain.
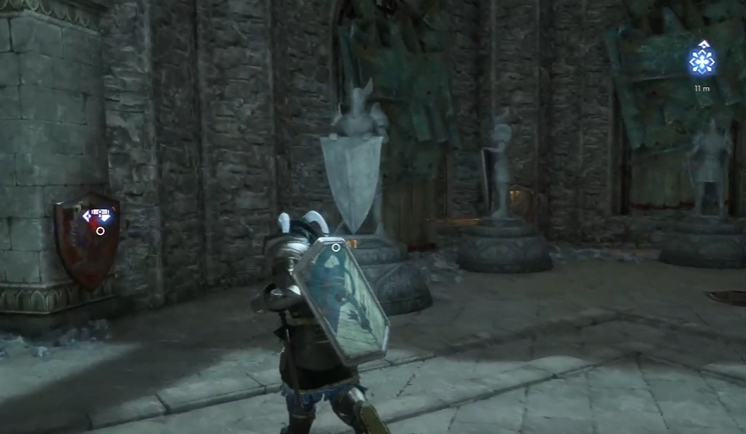
Look for three statues on an elevated platform, each with a distinct design.
These statues may symbolize different elements or themes from the game’s lore, and you can rotate them as part of the puzzle interaction.
Position The Statues
To complete the Sheltered Glade Statue puzzle in Dragon Age Veilguard, you’ll need to adjust each statue’s direction as follows:
- North Statue: Turn this statue to face East. It’s often associated with guidance or light, so positioning it toward the sunrise adds thematic depth.
- Southeast Statue: Rotate this statue to face Southwest. This statue may symbolize balance or duality, so aligning it to face its counterpart creates a sense of harmony.

Southwest Statue
Direction: Turn the Southwest Statue to face Northwest.
This statue may represent protection, so position it to oversee both nearby statues.
Activating the Statues
Once each statue is positioned correctly, watch for visual or sound cues signaling activation.
You might hear a chime or notice a glow around the statues when they are aligned properly.
After all statues are in place, a nearby door will open, revealing a hidden chamber.
Inside, you’ll discover a chest filled with valuable items, crafting materials, or lore treasures.


